How to Choose Jewelry Box Inserts for Rings, Earrings, Necklaces, and Bracelets

A jewelry box insert is not simply a soft surface placed inside a box. It controls how the jewelry sits, what the customer sees first, how easily the piece can be removed, and how much it can move during normal handling. An attractive box can still feel poorly designed if the ring leans, the earrings rotate, the necklace tangles, or the bracelet must be forced into position.
The right insert starts with the jewelry rather than with a standard cavity. Buyers should compare the product’s size, shape, weight, fastening points, presentation angle, and sales channel before deciding on material or color. This guide explains how to choose jewelry box inserts by function and what to verify before approving a sample.
What a Jewelry Box Insert Needs to Do
Most insert decisions can be evaluated against four jobs: support, presentation, removal, and repeatability. A strong design balances all four. Improving one at the expense of the others can create a new problem. A very tight slit may hold a ring upright but make it awkward to remove. A deep recess may secure a pendant but hide too much of the product.
Support the jewelry
The insert should limit unwanted movement without applying pressure in the wrong place. The required support depends on the product. A small stud earring needs controlled alignment, while a long chain needs several points of organization. A rigid bangle requires a different holding method from a flexible bracelet.
Present the product clearly
The insert sets the viewing angle and visual spacing. It should help the jewelry remain the subject when the box opens. Color, texture, recess depth, and product orientation all influence the first impression, but the insert should not compete with the jewelry or obscure important details.
Allow comfortable removal
A customer or retail associate should be able to remove and replace the piece without pulling hard on a chain, pressing a setting, bending a post, or scraping a polished surface. Removal is part of the product experience and should be tested, not assumed from a drawing.
Repeat the result across the order
The approved fit should be realistic for the final product range and packaging process. If several jewelry variations use one insert, test the smallest, largest, lightest, and most difficult pieces. A solution that works for only the reference sample may not be reliable for the complete assortment.
Start With Three Fit Questions
Before comparing foam, card, velvet, or faux suede, define what a successful fit means. These three questions keep the discussion focused on function rather than on material labels.
1. Where should the jewelry be supported?
Mark the parts of the product that can safely touch the insert and the parts that should remain free. Consider raised stones, delicate settings, sharp edges, flexible chains, hooks, and closures. Provide front, side, and top photographs with dimensions so the supplier can understand the complete profile.
2. How much movement is acceptable?
Some products need to remain precisely aligned for a retail presentation. Others can tolerate limited movement inside a pouch or under a protective layer. Define the expected sales and handling conditions, including whether the box will sit on a counter, be placed in a gift bag, or travel inside an e-commerce shipping package.
3. How should the product be removed?
Decide where fingers can reach the jewelry and whether a pull tab, ribbon, edge cutout, or exposed section is needed. If the customer must pull on the product to overcome the insert, the fit may be too tight or the access point may be poorly positioned.
Choosing Ring Box Inserts
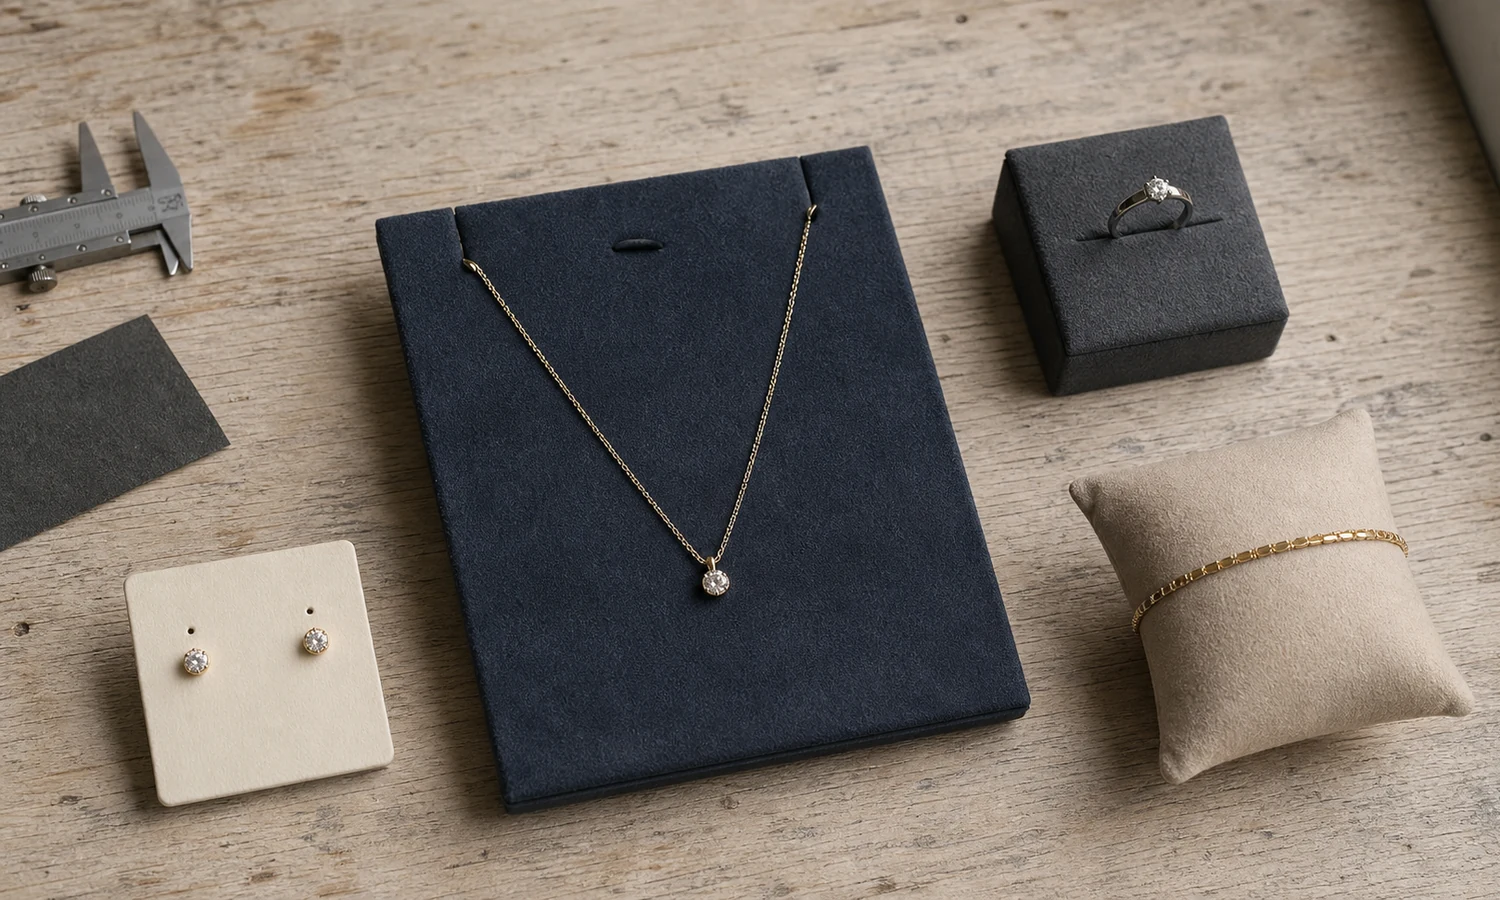
Ring inserts usually need to hold a small product upright and centered while accommodating variations in band width, setting height, and ring profile. A simple slit can work well, but the slit position, depth, surface covering, and support beneath it must match the actual ring.
Check band width and setting height
A narrow band and a wide band may not sit at the same depth. High settings, halos, clusters, and unusual profiles may need additional clearance above or behind the ring. The box lid and interior surface should be checked while the ring is in its intended position, not only when the box is empty.
Decide on orientation
The ring may face directly forward, sit at a slight angle, or be paired with a second ring. Define this presentation before the insert is cut. For sets, check spacing and confirm that one piece does not hide or press against the other.
Sample with more than one ring
If the packaging is intended for a product line, test representative narrow, wide, low-profile, and high-setting rings. The goal is not to find a universal slit for every possible ring. It is to define the product range the insert must support and identify when a second insert version is more practical.
Choosing Inserts for Earrings and Pendants
Earrings and pendants are often presented on cards, pads, or covered inserts with holes, slots, or small attachment points. The design should keep pairs aligned, protect posts and hooks, and leave enough clearance for backs, drops, and pendant bails.
Stud earrings
For studs, check the distance between holes, the space behind the card or pad, and access to the earring backs. The front should remain balanced when the pair is attached, while the rear construction should avoid forcing the posts into an awkward angle.
Drop earrings and hooks
Drop earrings need vertical clearance and enough separation to prevent crossing. Hook styles may require slots or hanging points rather than simple holes. Test the longest intended drop and confirm that the earring does not rest against the bottom of the box or rotate into the second piece.
Pendants and small chains
A pendant card or pad should support the pendant while organizing the attached chain. The pendant recess, chain slots, and rear storage area need to work together. Hiding excess chain behind the insert can improve presentation, but the packing method should not create sharp bends or make unpacking difficult.
Choosing Necklace Box Inserts
A necklace box insert has two related tasks: present the focal piece and manage the chain. The visible layout may look simple, but poor anchoring can allow the chain to loosen, cross, or gather around the pendant before the customer opens the box.
Map the full necklace
Provide total chain length, pendant dimensions, clasp type, and the desired visible chain path. Note whether the chain should form a wide curve, a narrow V, or another shape. The anchor points should support that presentation without pulling the chain too tightly.
Control the pendant and the excess chain
The pendant may need a shallow recess, a shaped opening, or a clear central area. Excess chain can be managed behind the insert or inside a separate pocket, depending on the construction. Ask how the packer will load the necklace and how the customer will remove it; a tidy front view is not enough if the rear packing process is slow or confusing.
Test the complete packing sequence
Pack, close, handle, reopen, and remove the necklace several times during sample review. Look for changes in alignment, tangling, pressure on the pendant, and friction at the anchor points. Include the outer shipping layer in the test when the packaging will be used for direct-to-consumer orders.
Choosing Inserts for Bracelets and Bangles
Bracelets vary from flexible chains to cuffs and rigid bangles, so a single holding method rarely fits the whole category. Start by identifying whether the product can flex, where it opens, and how much internal diameter or laid-flat length it requires.
Flexible bracelets
Flexible bracelets may be arranged around a cushion, secured at selected points, or presented in a shaped recess. The insert should keep the clasp accessible and prevent the chain from collecting underneath the main decorative area.
Rigid bangles and cuffs
Rigid pieces need support that respects their internal diameter and opening. A cushion that is too large can distort the presentation or make the product difficult to place. A cavity that is too loose can allow the bangle to tilt. Check both insertion and removal without forcing the product.
Sets and size variations
If several bracelets are sold together, define the stacking order and the amount of separation between pieces. When the same packaging covers several sizes, test the complete size range and decide whether an adjustable feature or separate insert versions will produce a more consistent result.
Understand the Difference Between Insert Structure and Surface
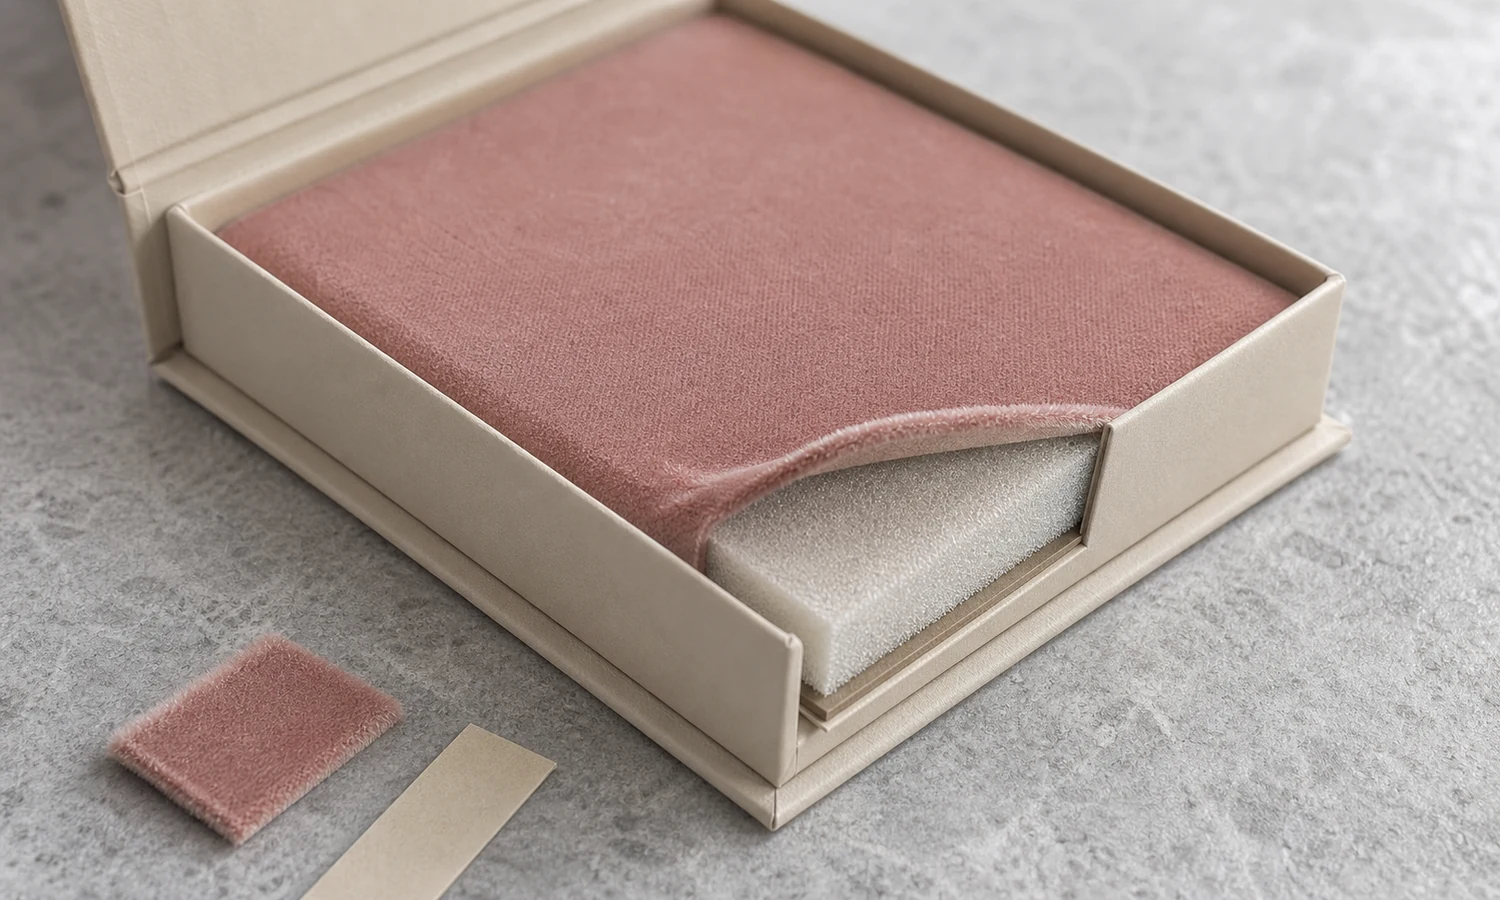
Material names can be misleading when they describe only the visible layer. A velvet insert may use a structural base beneath the fabric. A faux suede surface may cover foam, board, or another support. A paper card may function as the entire holder or sit above a deeper cavity. Buyers should ask for the complete construction, not only the top material.
Foam and covered foam
Foam is commonly considered when the insert needs shaped support, slits, or recesses. Density, thickness, cut quality, recovery, and surface covering affect the result. A foam jewelry box insert should be reviewed with the actual product because two pieces that look similar can place pressure in different locations.
Paper and card holders
Paper or card formats can suit earrings, pendants, small chains, and lightweight pieces when the attachment points and rear storage are properly planned. They can also provide a printable branding surface. Check edge quality, hole or slot position, rigidity, and how the holder sits inside the box.
Velvet, faux suede, microfiber, and other coverings
These surfaces influence appearance, hand feel, color, and contact with the jewelry, but the names should not be used interchangeably. Ask the supplier to identify the visible covering and the support beneath it. Review fiber direction, seams, cut edges, color under normal light, and any marks created during repeated product placement.
Color and contrast
Insert color should support the jewelry and the brand without reducing visibility. High contrast can make a product stand out, while a tonal approach may feel quieter. Test the intended jewelry finishes against the physical material sample; screen colors and mockups cannot confirm the final interaction of texture, reflection, and color.
For definitions of common box, insert, material, and finishing terms, use the ElevenPack Packaging Glossary as a starting point, then confirm the exact construction proposed for your project.
Questions to Ask Before Approving Custom Jewelry Box Inserts
A supplier can recommend a more suitable insert when the inquiry explains the jewelry and approval criteria. Include the following questions in the brief or sample review rather than discussing only color and price.
- Which part of the insert provides structural support, and which material is only the visible covering?
- How is the jewelry held, and where does the product contact the insert?
- Which jewelry dimensions and variations were used to create the proposed fit?
- How will the packer load the product and secure any chain, clasp, backing, or accessory?
- How will the customer remove the jewelry without pulling on a delicate component?
- Can one insert support the full product range, or are separate versions recommended?
- What should the physical sample prove before the insert is approved?
If you are comparing the insert together with the complete box, review the available custom jewelry boxes by usage, material, and structure. The insert should be selected as part of the box system rather than as an isolated decorative layer.
Jewelry Box Insert Sample-Fit Checklist
A digital drawing can show cut lines and placement, but a physical sample is needed to judge fit, removal, texture, and presentation. Use real jewelry whenever possible and record the result instead of relying on a general impression.
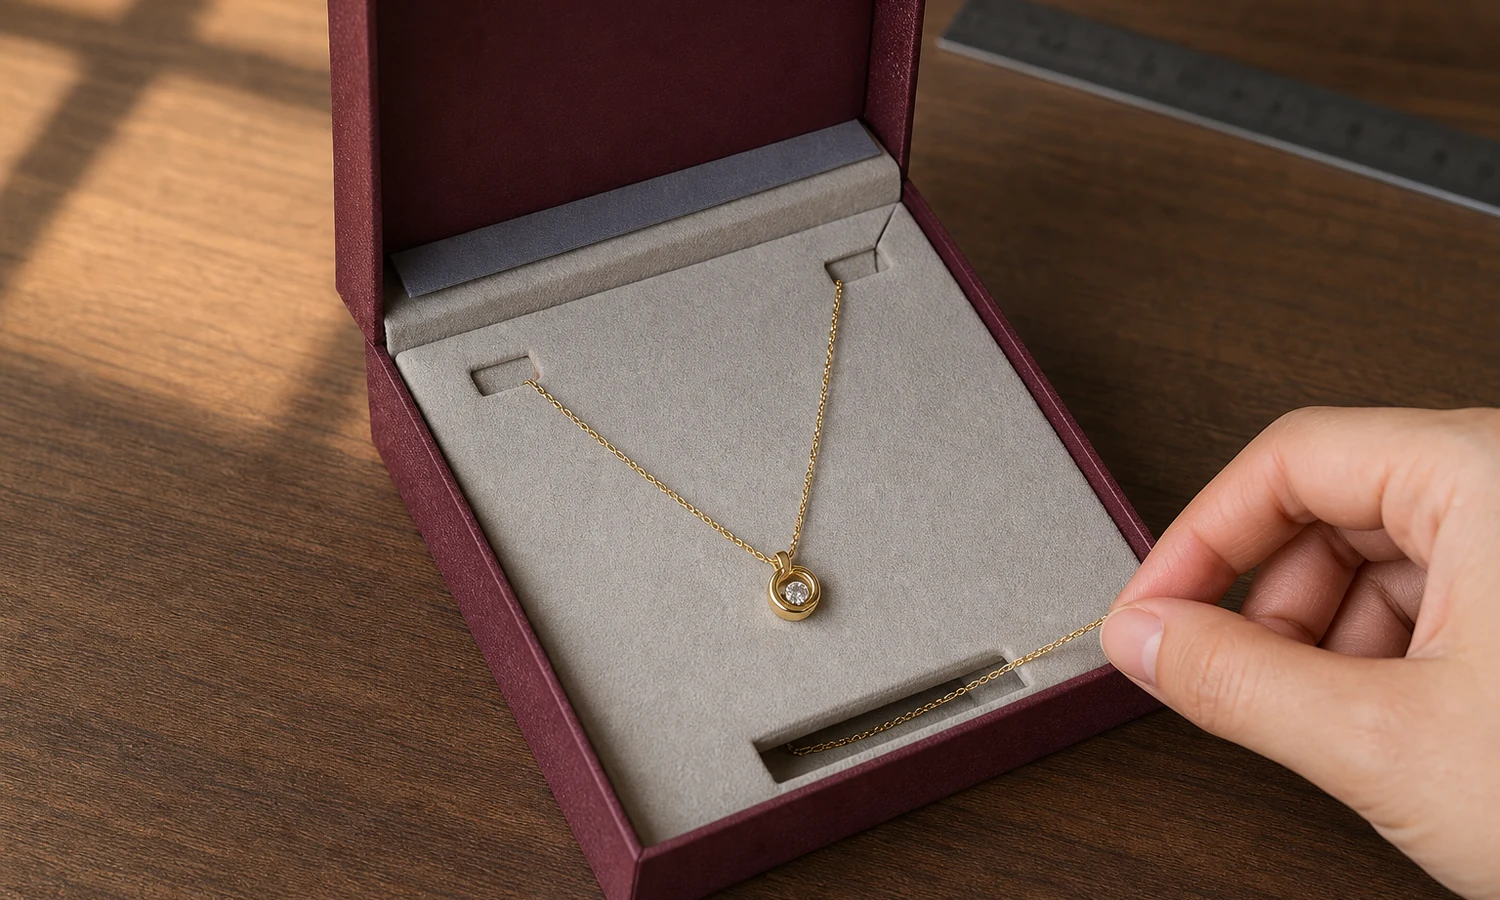
- The jewelry sits in the approved position when the box is opened.
- The product does not rotate, lean, cross, or disappear into the recess during normal handling.
- No setting, post, chain, clasp, edge, or polished surface is placed under unintended pressure.
- The customer can remove and replace the jewelry comfortably.
- The lid closes without touching a raised product or compressing the display.
- The visible covering is correctly identified and its texture, color, seams, and edges are acceptable.
- The packing team can load the jewelry consistently without a complicated hidden sequence.
- The smallest, largest, and most difficult product variations have been tested.
- Cards, certificates, care guides, or accessories still fit in the planned interior.
- The closed presentation box works with the selected gift bag, protective sleeve, or shipping package where relevant.
Use the ElevenPack Sample Request page when you are ready to explain which products, insert details, and approval questions the sample needs to address. Availability, cost, and timing should be confirmed for the specific project.
Frequently Asked Questions
Can one jewelry box insert fit rings, earrings, necklaces, and bracelets?
A modular or adjustable insert may support more than one product type, but a universal design usually involves trade-offs in alignment, security, and presentation. Define the products that must share the box and test every intended configuration before approval.
Is a foam insert better than a velvet insert?
They are not direct alternatives. Foam often describes the supporting structure, while velvet may describe the visible covering. A velvet insert can contain foam or another base. Compare the complete construction, jewelry fit, surface quality, and sample performance.
How tight should a jewelry box insert be?
There is no single suitable tolerance for every product. The insert should limit unwanted movement without damaging the jewelry or making removal difficult. Confirm the fit with real pieces and include expected product variation in the sample test.
Can the display insert protect jewelry during shipping?
It can help control movement inside the presentation box, but it should not be treated as the complete shipping system. The box, protective layers, outer mailer or carton, packing method, and transit conditions should be reviewed together.
What information should I send to an insert supplier?
Send jewelry dimensions, weight where relevant, clear photographs, product variations, desired orientation, contact concerns, removal method, preferred surface, box structure, sales channel, quantity estimate, and the questions the sample must prove. Mark any area where a supplier recommendation is welcome.
Choose the Insert Around the Jewelry
The best insert is not the softest material or the most complex cut. It is the solution that holds the intended jewelry consistently, presents it clearly, supports practical packing, and allows comfortable removal. Ring, earring, necklace, and bracelet inserts should therefore be reviewed as product-specific components of the complete packaging system.
Begin with accurate product information, define the required presentation, and use a physical sample to test the decisions that matter. This approach gives the supplier a clearer problem to solve and gives the buyer a more reliable basis for approval.